Notes
The Notes component is a collaborative and versatile feature for capturing and managing threaded notes against a record. It supports data ownership, conditional visibility, layout adjustments, and event scripting.
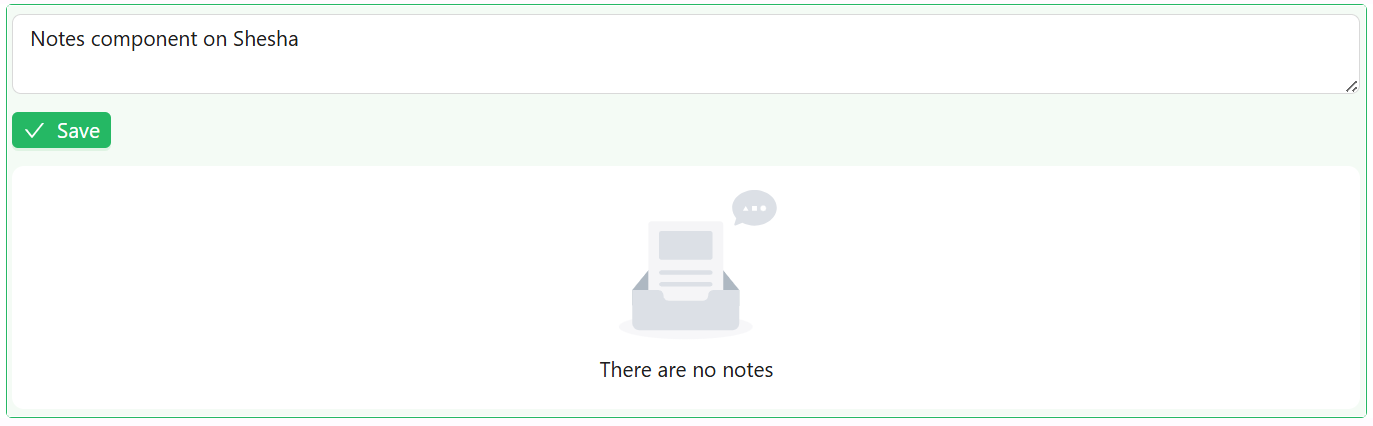
Allowing notes to be captured on a form is as simple as adding the Notes component to the form. The Notes component automatically displays any notes that have already been captured against the entity the form is bound to, and lets users add new ones.
Properties
The following properties are available to configure the behavior of the component from the form editor. These are in addition to the common properties shared by all Shesha components.
Common
Notes Category string
Groups notes into categories, for example general or compliance. Only notes saved under the same category are shown together. Leave this empty if you don't need to separate notes into groups.
Show Chars Count boolean
Displays a character count indicator below the note input, to help the user track the length of the note they are typing.
Auto Size boolean
When enabled, the note input text area grows and shrinks automatically to fit its content, instead of staying a fixed height with a scrollbar.
Allow Edit boolean
Lets a user edit a note after it has been posted, using an inline editor on the note card.
A user can only edit their own notes. The edit control does not appear on notes posted by other users, regardless of this setting.
Allow Delete boolean
Lets a user delete a note directly from the thread.
A user can only delete their own notes. The delete control does not appear on notes posted by other users, regardless of this setting.
Data
Owner Type string
The type of entity that owns these notes, for example Shesha.Domain.Person. This setting is required, and is picked using an entity type autocomplete.
Owner ID string
The ID of the specific entity record that owns the notes. This setting is required.
Shesha sets this to {data.id} by default, which reads the ID of the record the current form is bound to. In most cases you can leave the default as-is, so notes are tied to whichever record the form is displaying.
Events
Events are JavaScript handlers that run after a note is created, updated, or deleted. Use them to react to note activity, such as refreshing a related counter or sending a notification.
On Create function
Fires after one or more notes are successfully created and saved.
All event handlers have access to the following variables:
| Variable | Type | Description |
|---|---|---|
createdNotes | Array<object> | The notes that were just created. |
data | object | The current values of all fields on the form. |
form | FormApi | The form instance. |
globalState | object | The global state of the application. |
http | object | Axios instance for making HTTP requests. |
message | object | Functions to show toast notifications: message.success(...), message.error(...). |
moment | object | The Moment.js library for working with dates. |
setGlobalState | function | Updates the global application state. |
Form type to use: Edit Form - use when the Notes component is displayed against an existing record.
Example - Show a toast confirming how many notes were added:
message.success(`${createdNotes.length} note(s) added`);
On Update function
Fires after an existing note is successfully updated. In addition to the shared variables listed under On Create, this event exposes the updated note as note:
| Variable | Type | Description |
|---|---|---|
note | object | The updated note, including its id, noteText, author, category, priority, and creationTime. |
Form type to use: Edit Form.
Example - Log the text of the note that was edited:
message.info(`Note updated: ${note.noteText}`);
On Delete function
Fires after a note is successfully deleted. In addition to the shared variables listed under On Create, this event exposes the deleted note as note, using the same shape described under On Update.
Form type to use: Edit Form.
Appearance
Buttons Layout object
Controls where the save button appears below the note input box.
| Option | Description |
|---|---|
Left | The save button appears on the left. This is the default. |
Right | The save button appears on the right. |