Permission Based Security Model
Shesha adopts a permission-based model, meaning users can only perform restricted actions if they have been granted that specific permission. Think of it like having different keys for different doors in a building - you can only enter the rooms you are authorized to access.
For the underlying concepts (roles, permissions, scoped roles) and how permissions are enforced in code at the UI, API, and data levels, see Authorization and Access Control. This article is a walkthrough of the concrete steps: creating a permission and assigning it to a role through the Configuration Studio.
This walkthrough assumes you have a Shesha project up and running. If you have not set one up yet, see Getting Started.
Creating a Permission
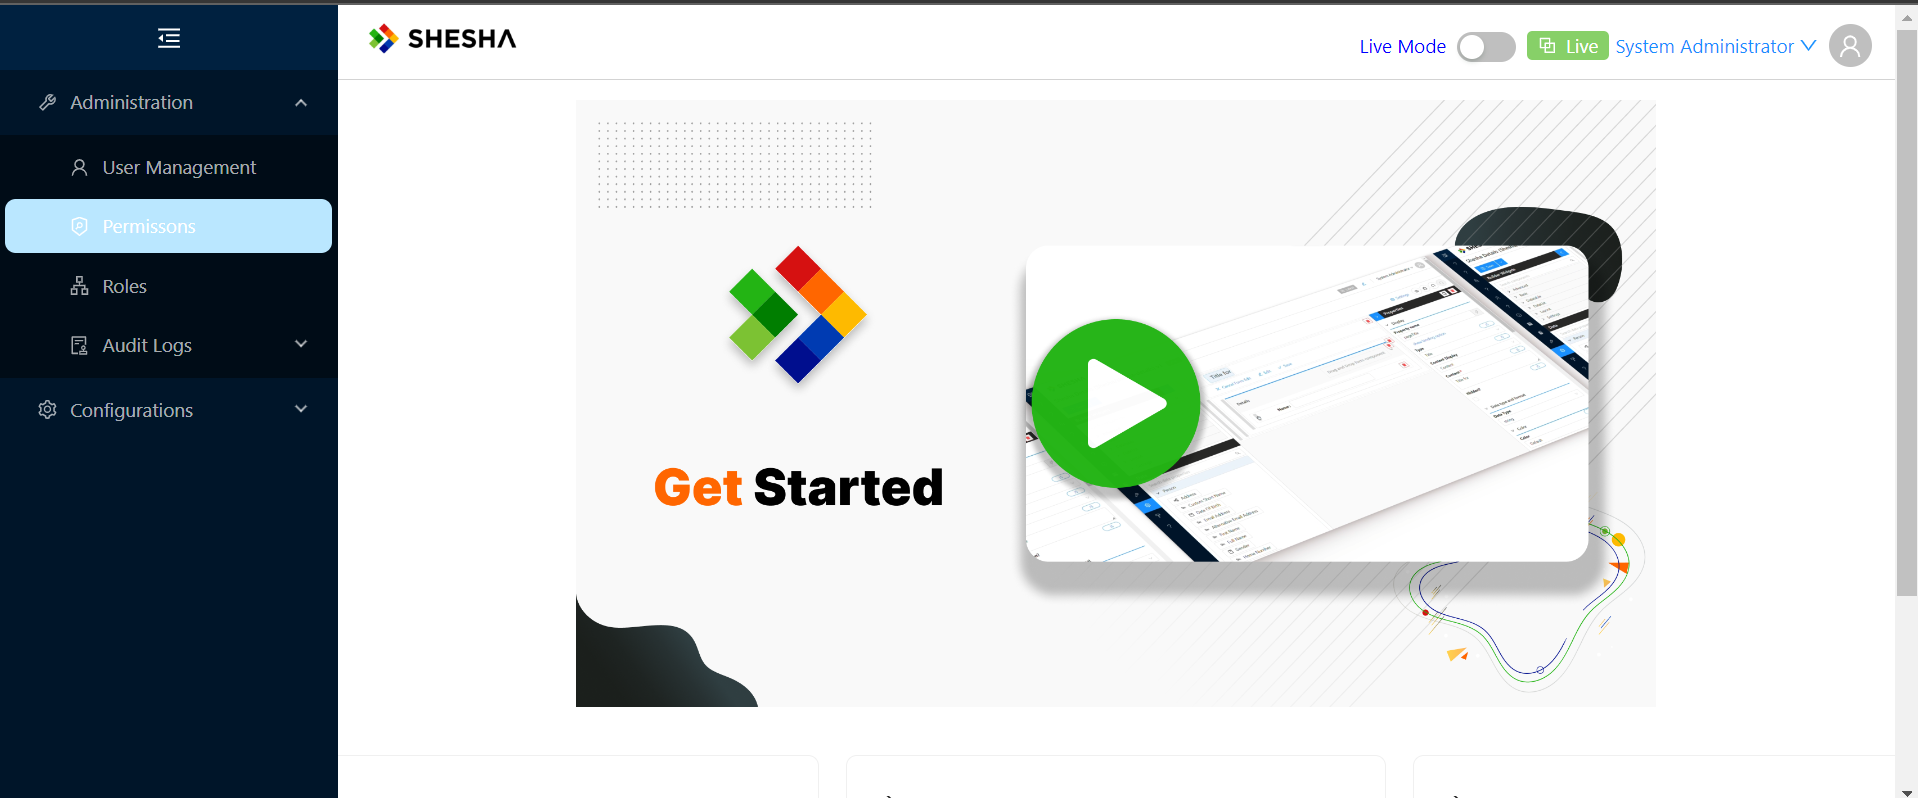
From the homepage, navigate to the Permissions Configurator by clicking the Permissions button.
On the Permission Configurator page, create a new permission by clicking Create root.
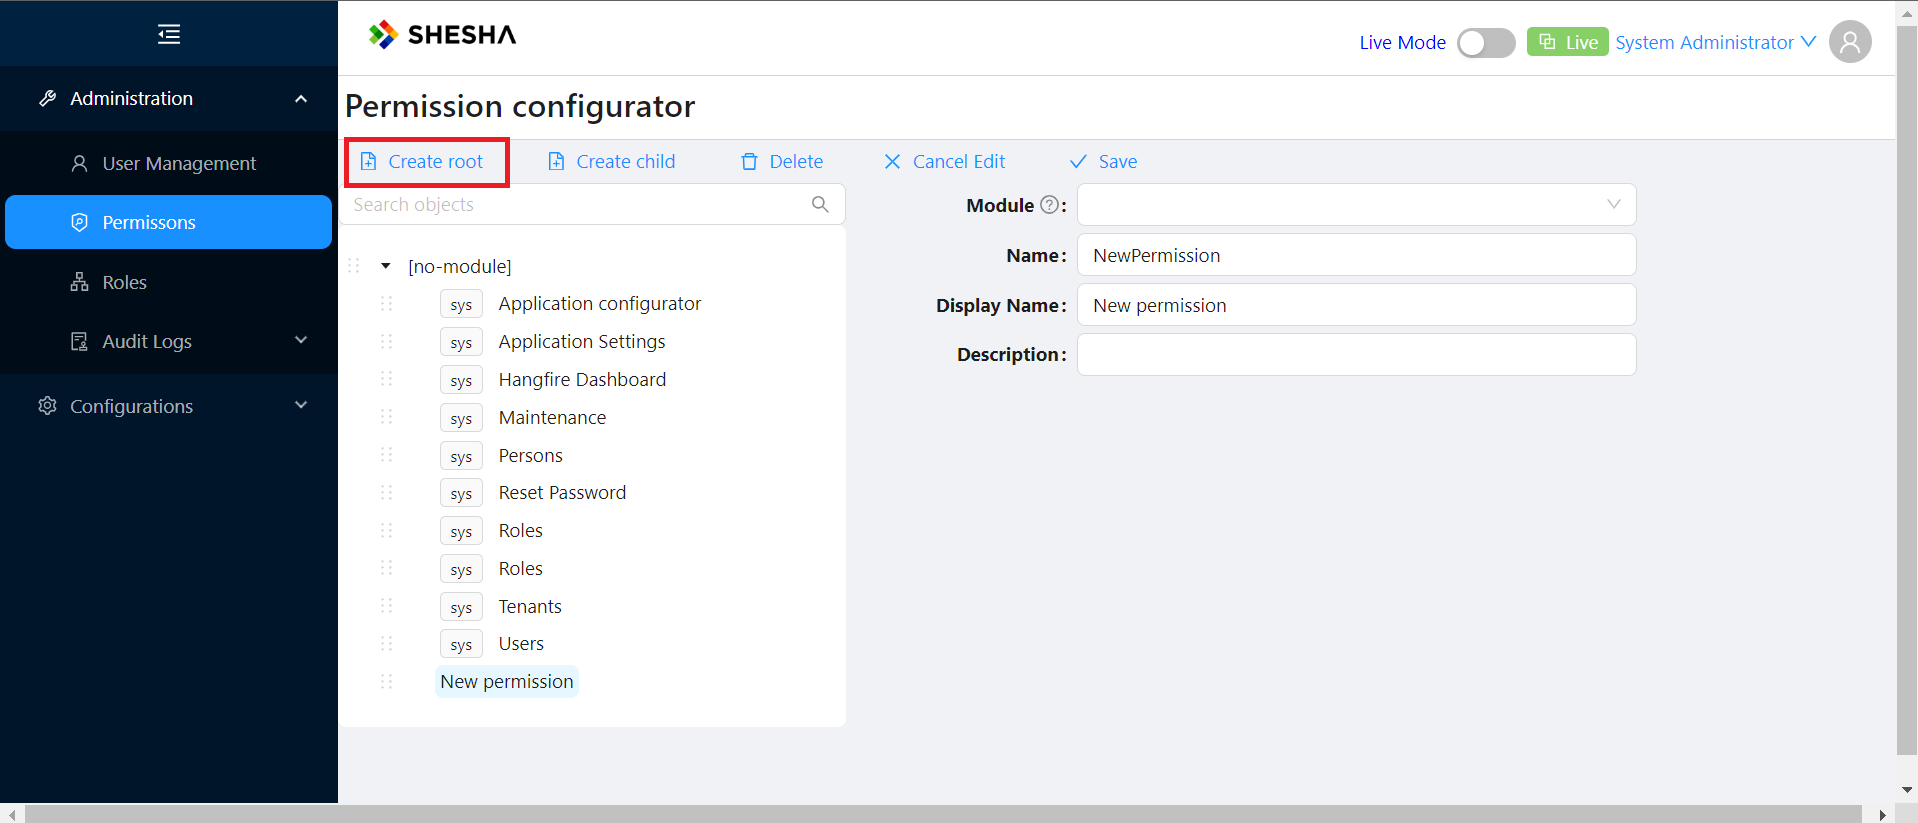
This opens a modal where you specify:
- The Module the permission belongs to.
- The Name of the permission.
- The Display Name of the permission, shown alongside other permissions in the list.
- A Description of what the permission does.
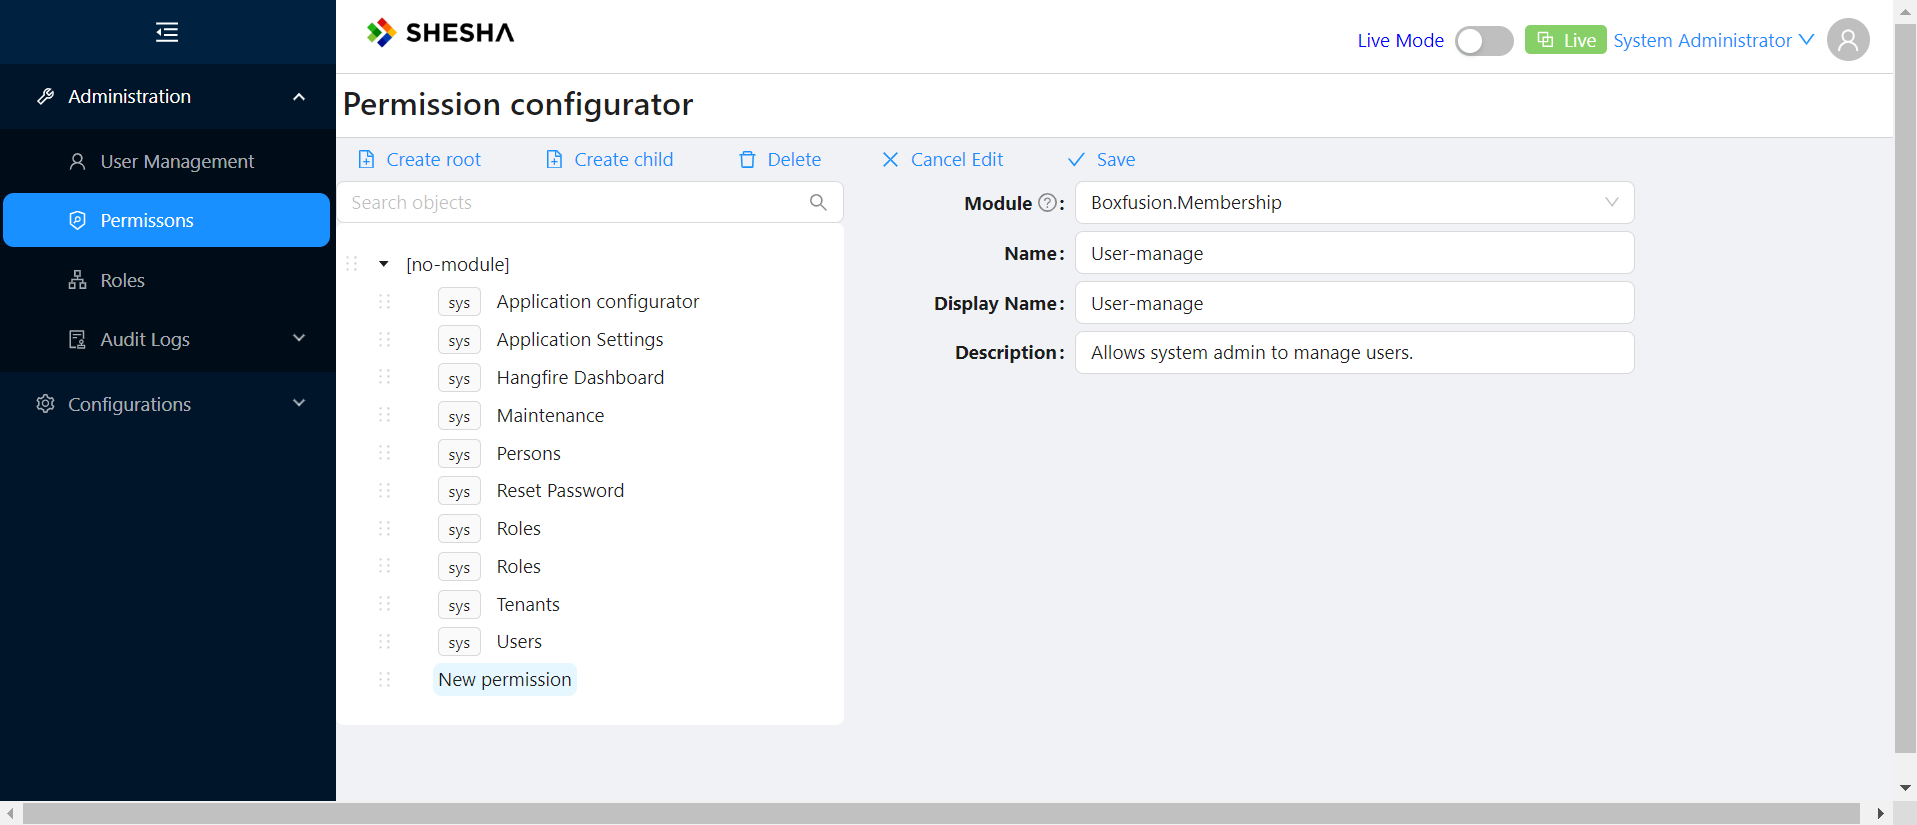
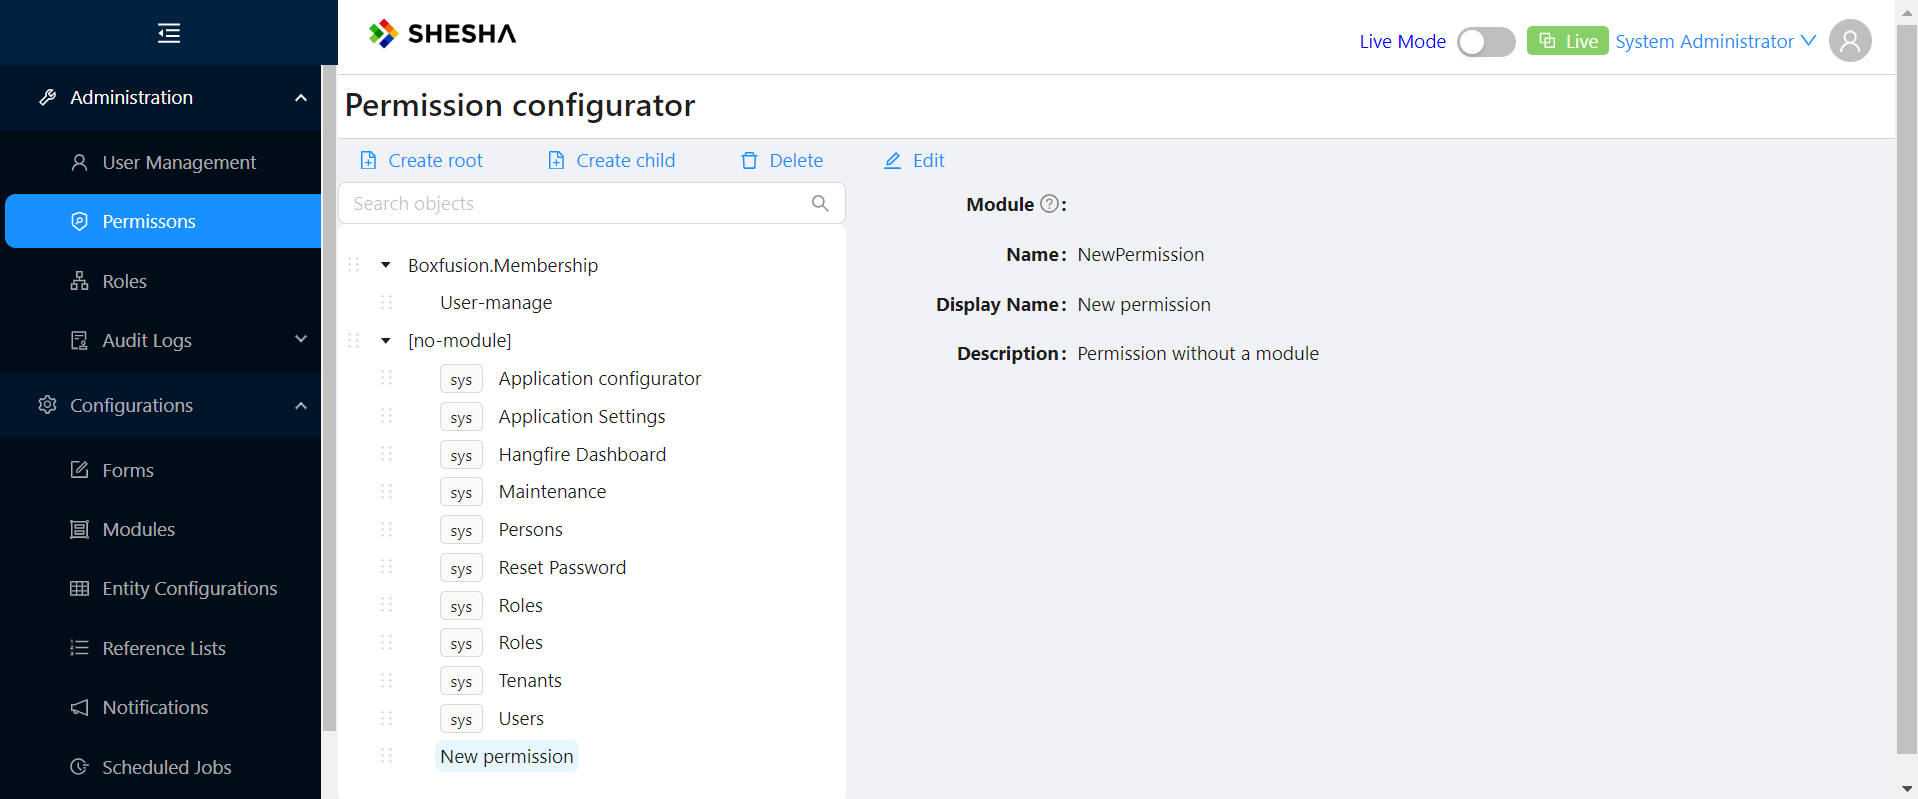
Click Save to create the permission. It now appears in the permissions list.
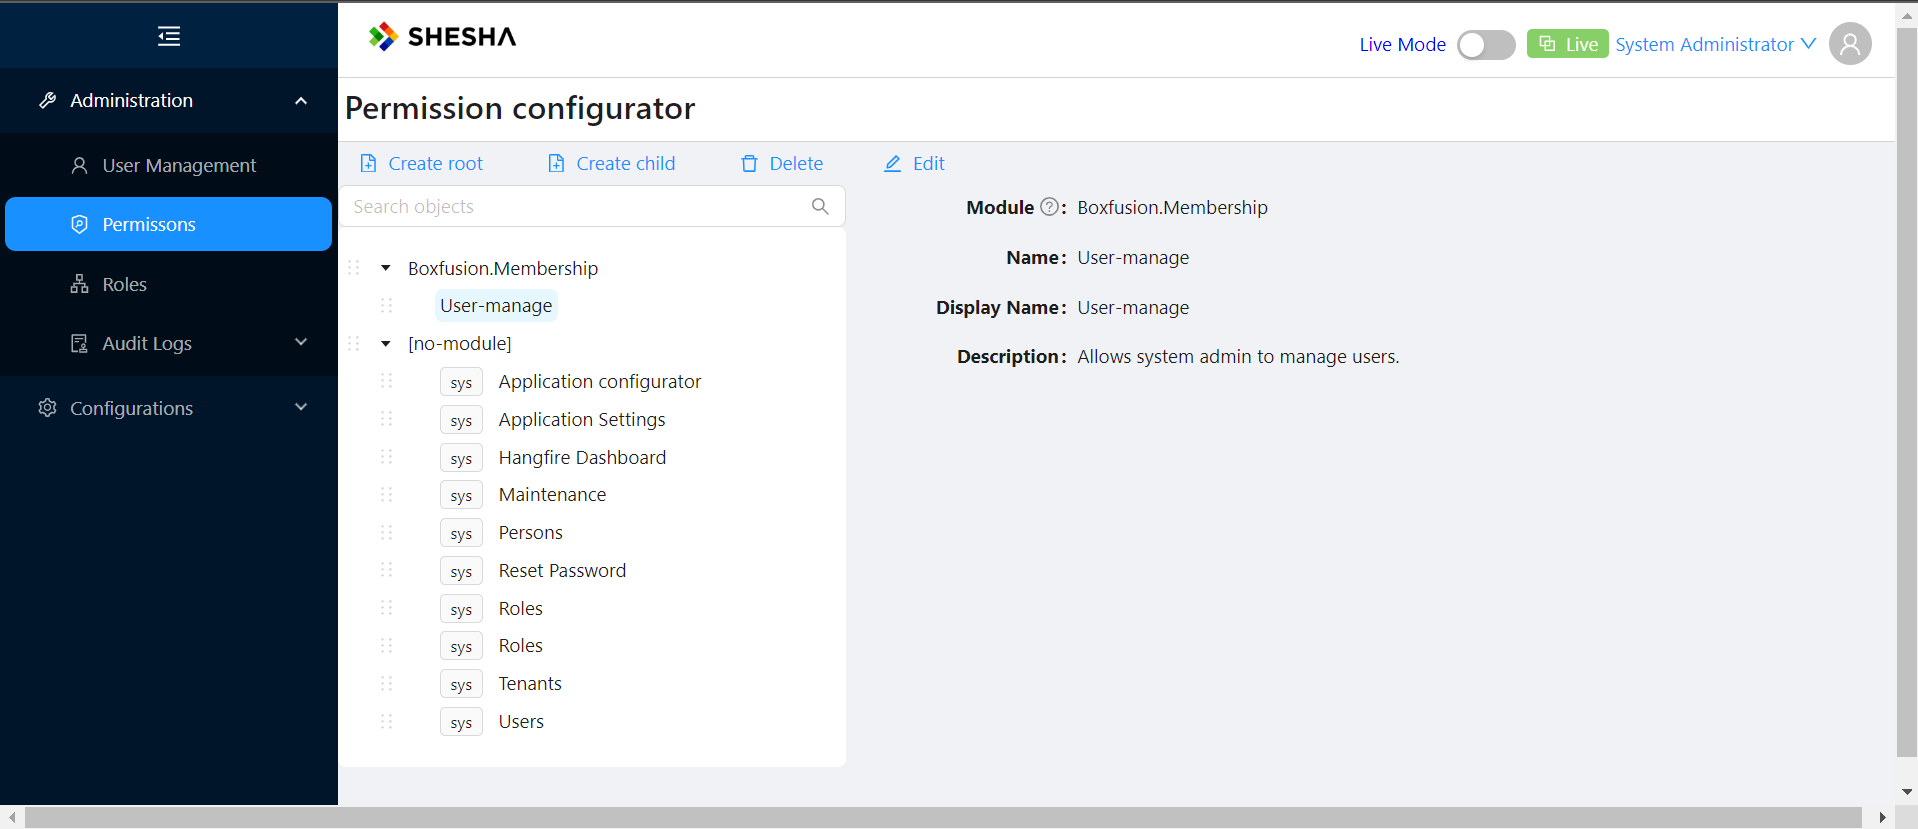
You can also define a permission without a module.
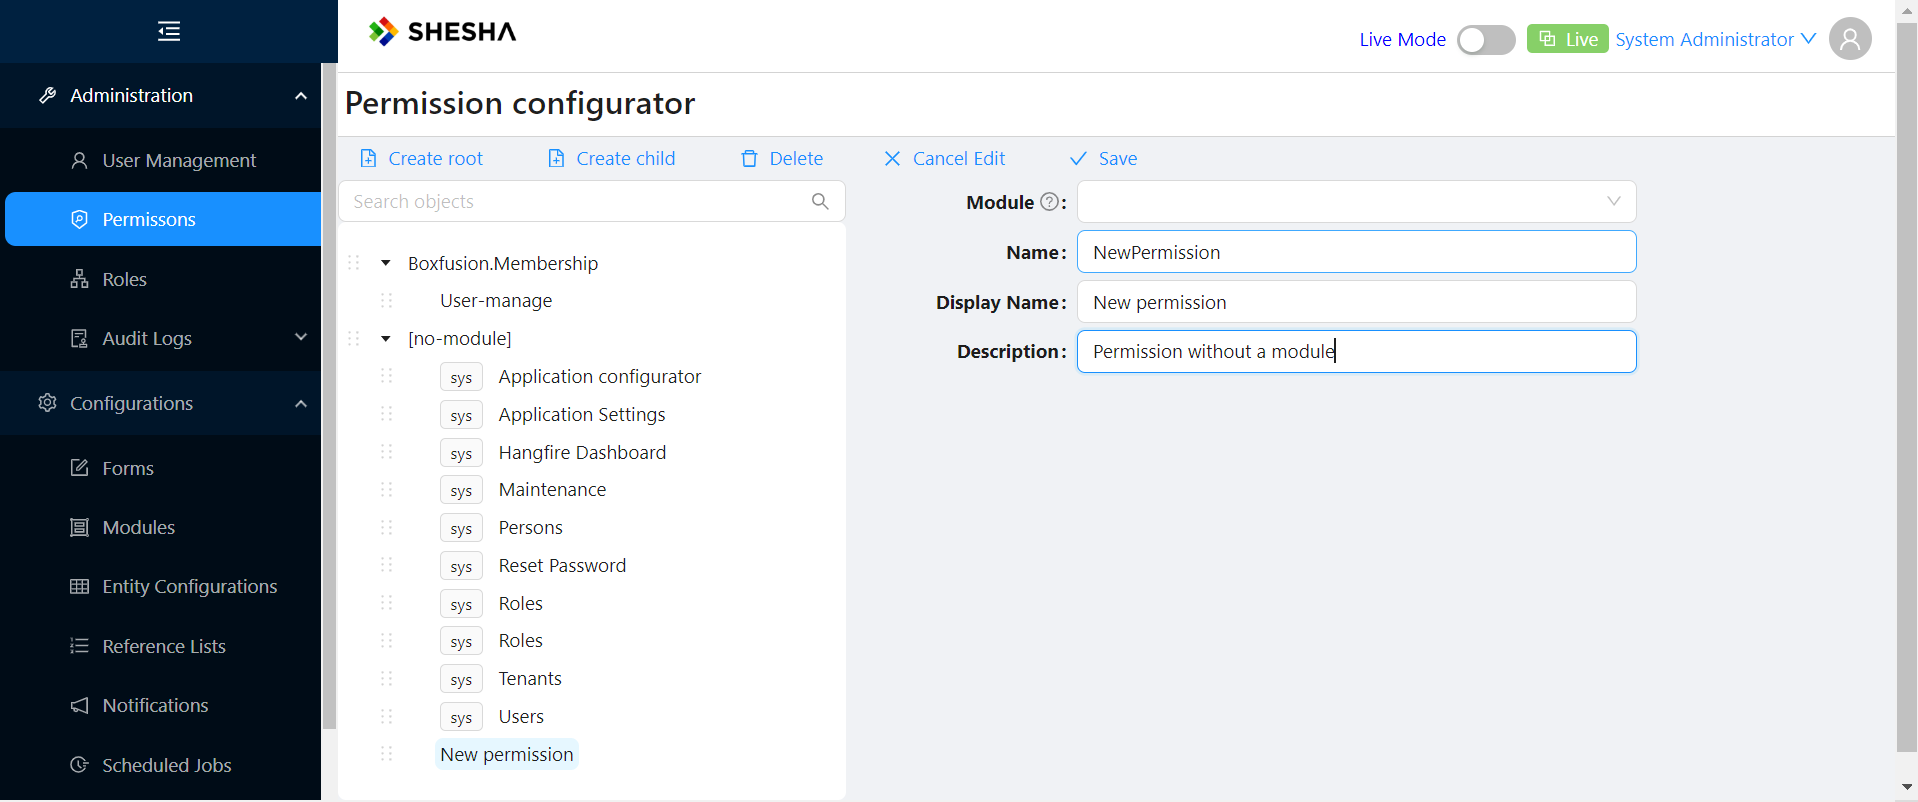
A permission saved without a module appears under the no-module section of the list.
Assigning a Permission to a Role
Next, assign the newly created permission to a role. Open the Roles modal by clicking Roles.
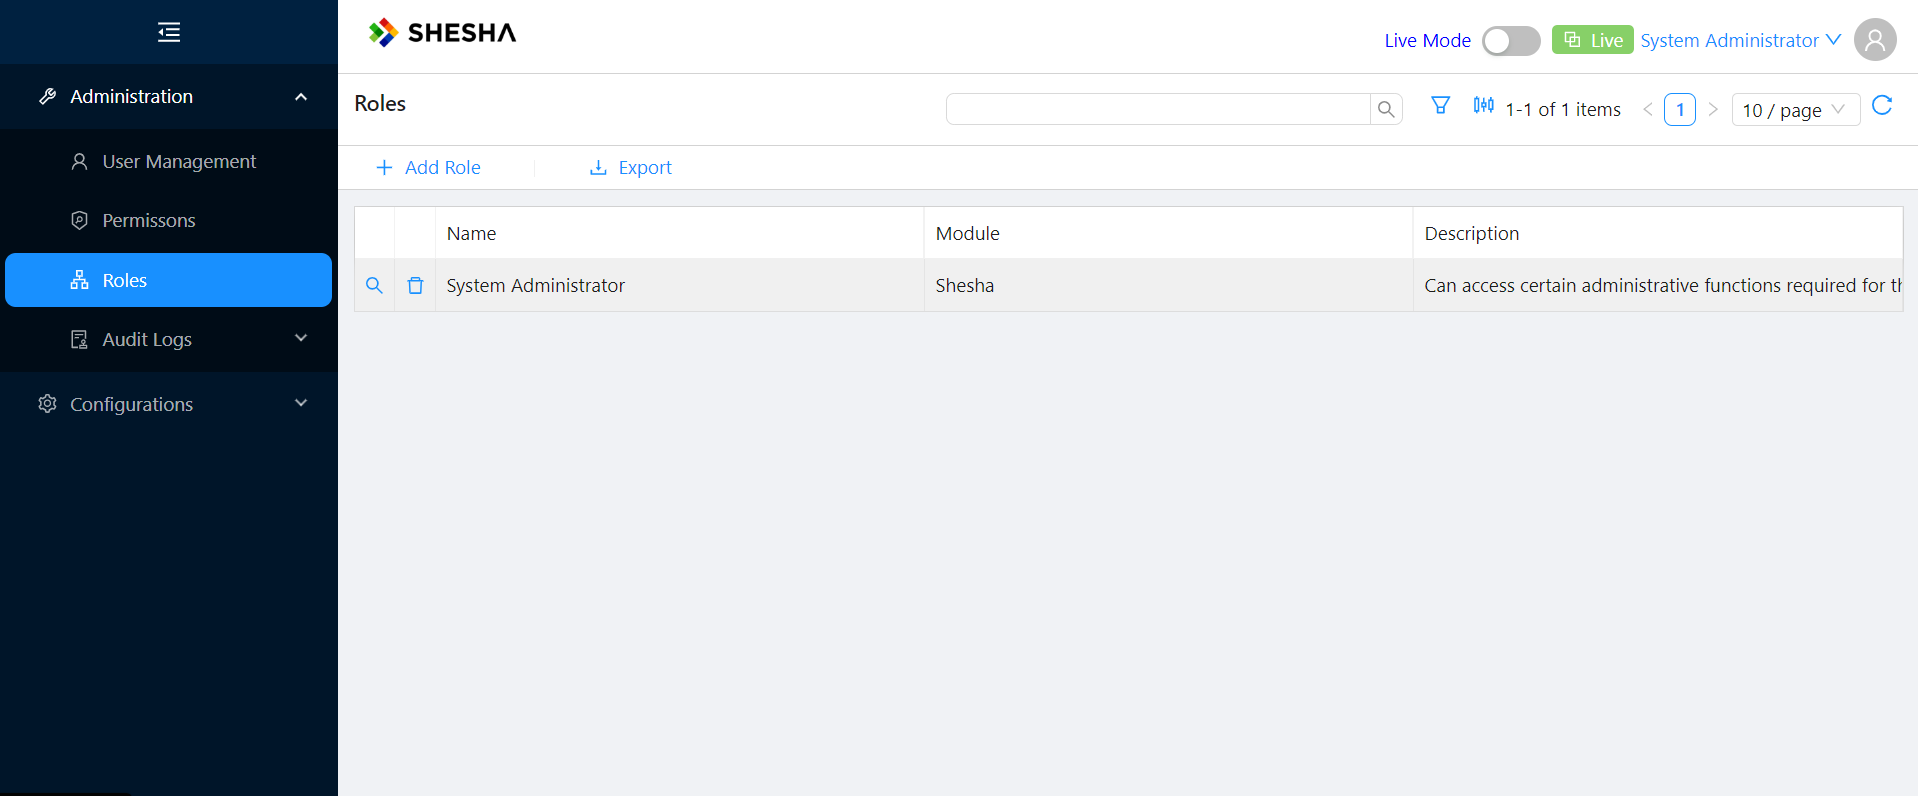
A new Shesha application starts with a System Administrator role available. Click its magnifier icon to open it.
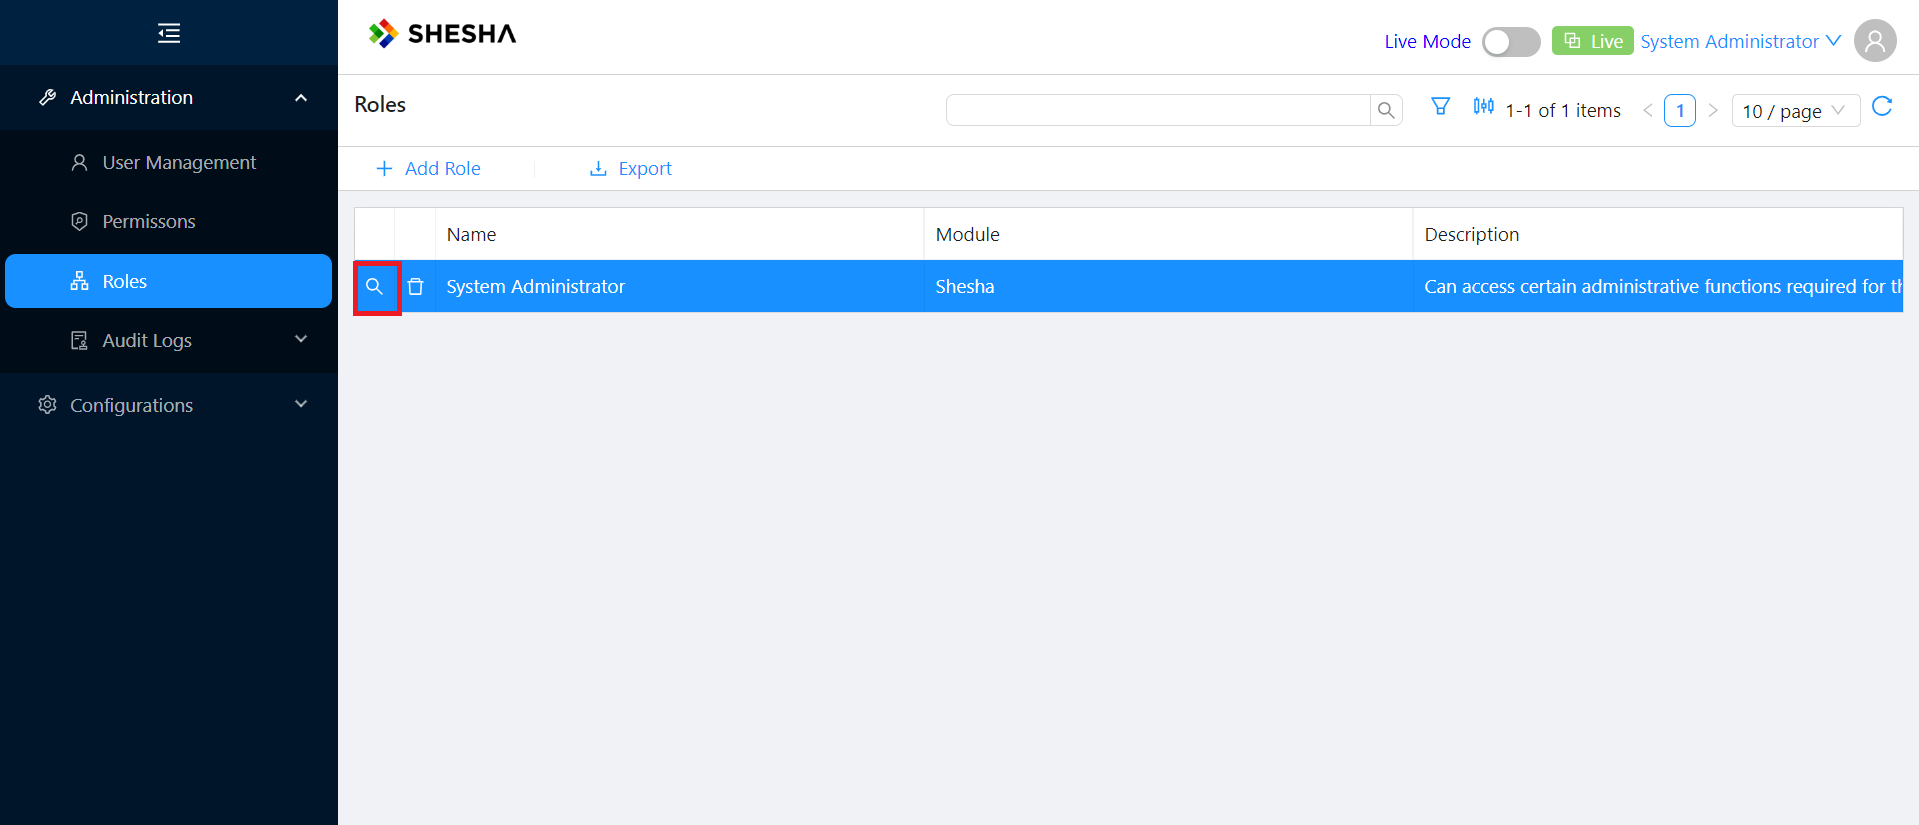
Click Edit.
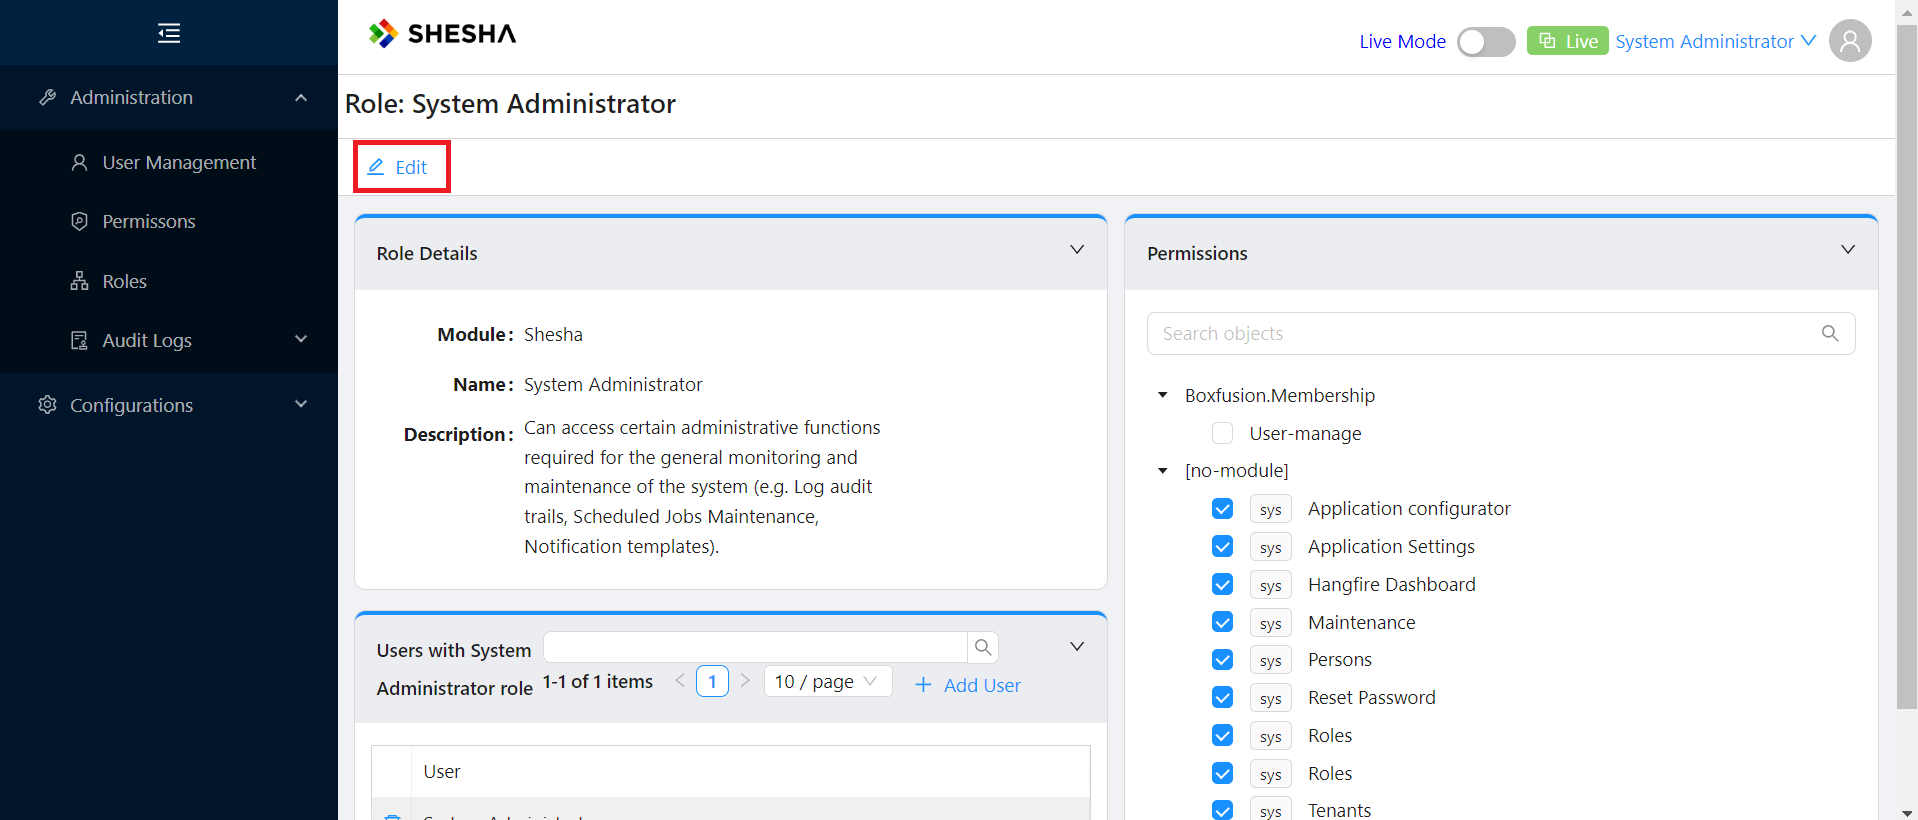
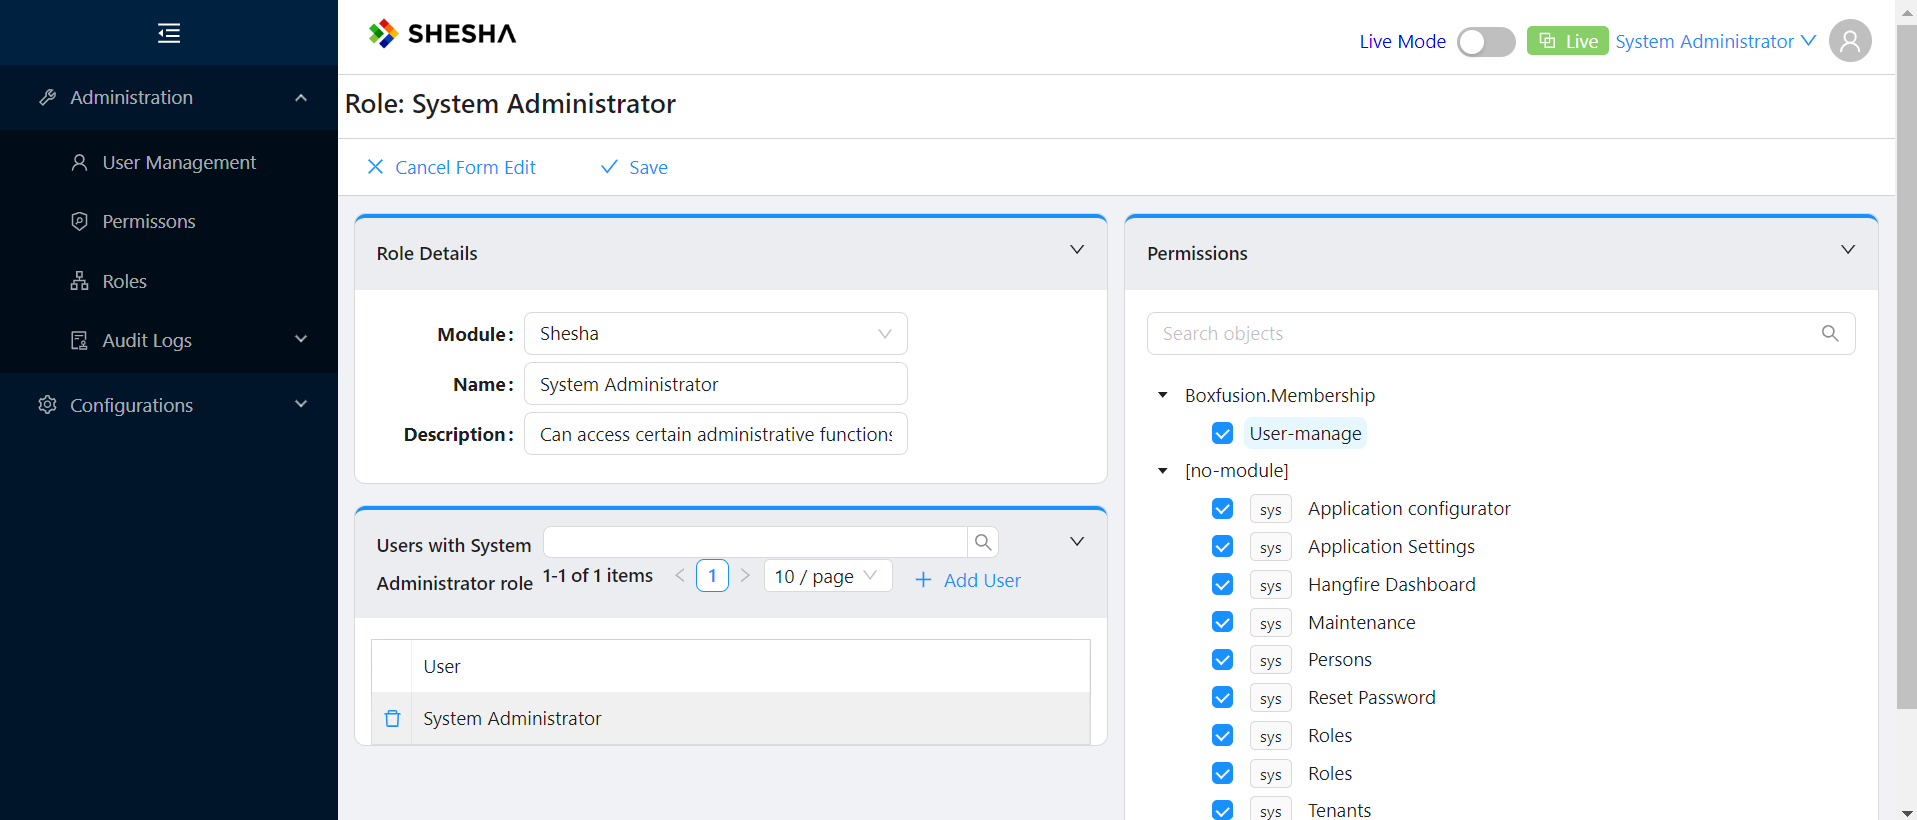
Select the checkbox next to the newly created permission and click Save.
Restricting a Menu Item to the New Permission
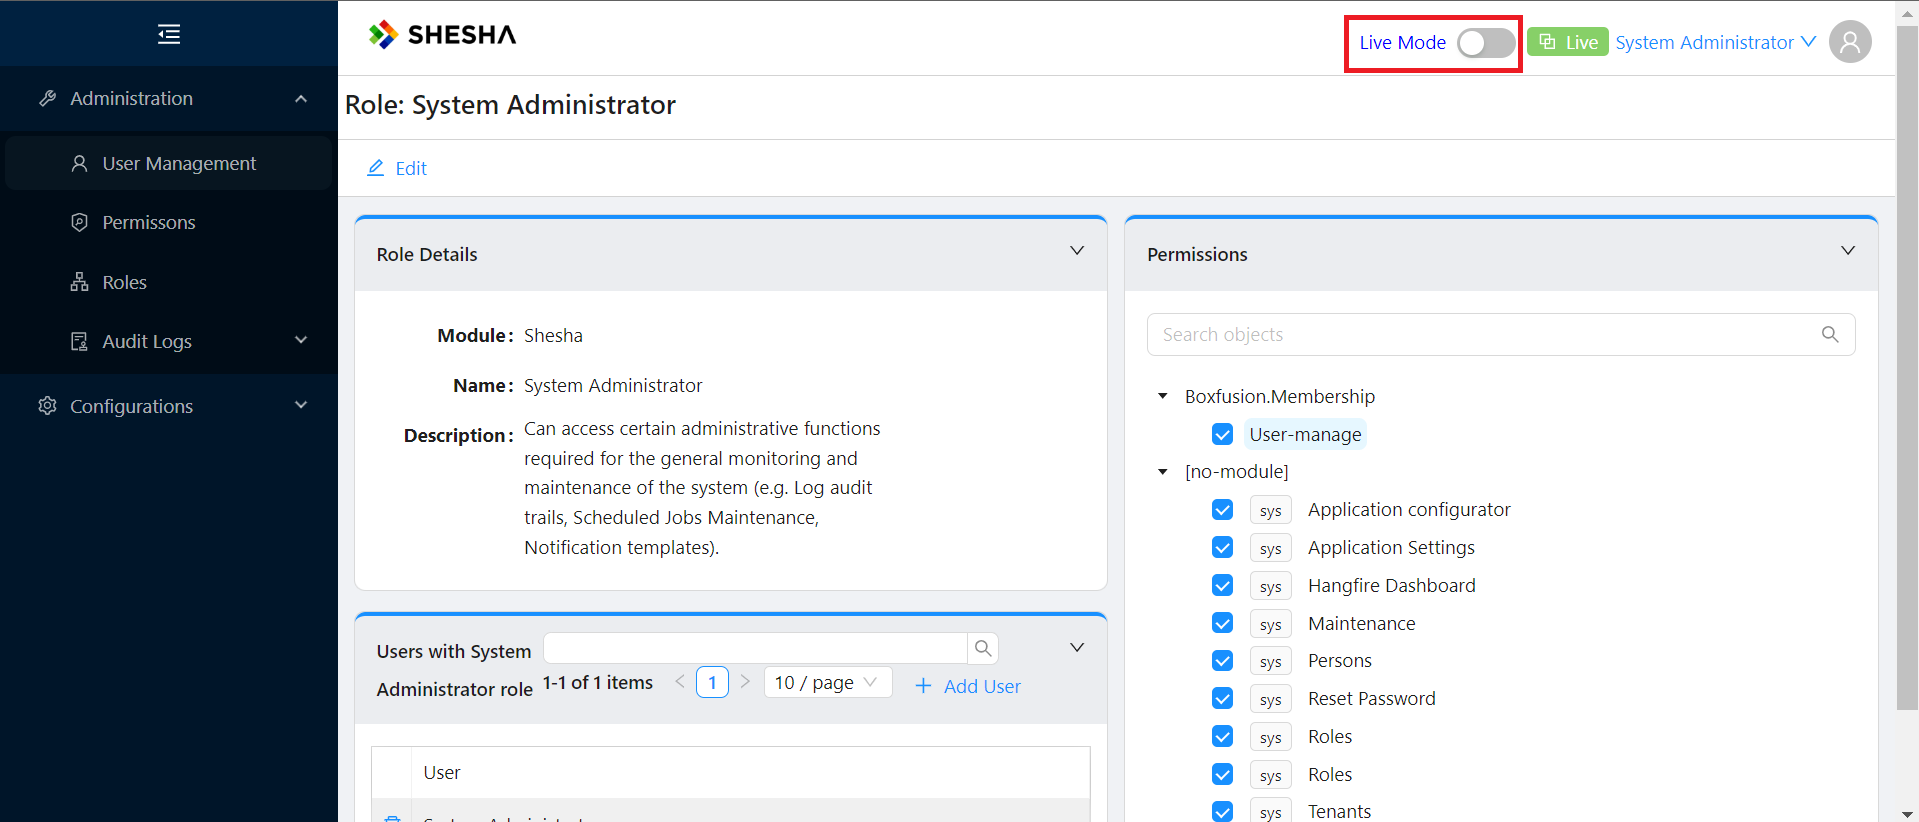
To make an existing menu item, such as an administration menu group, visible only to users whose role has this permission, switch the application into Edit Mode using the Live Mode / Edit Mode toggle in the header. See Toggling Edit Mode for how this toggle works.
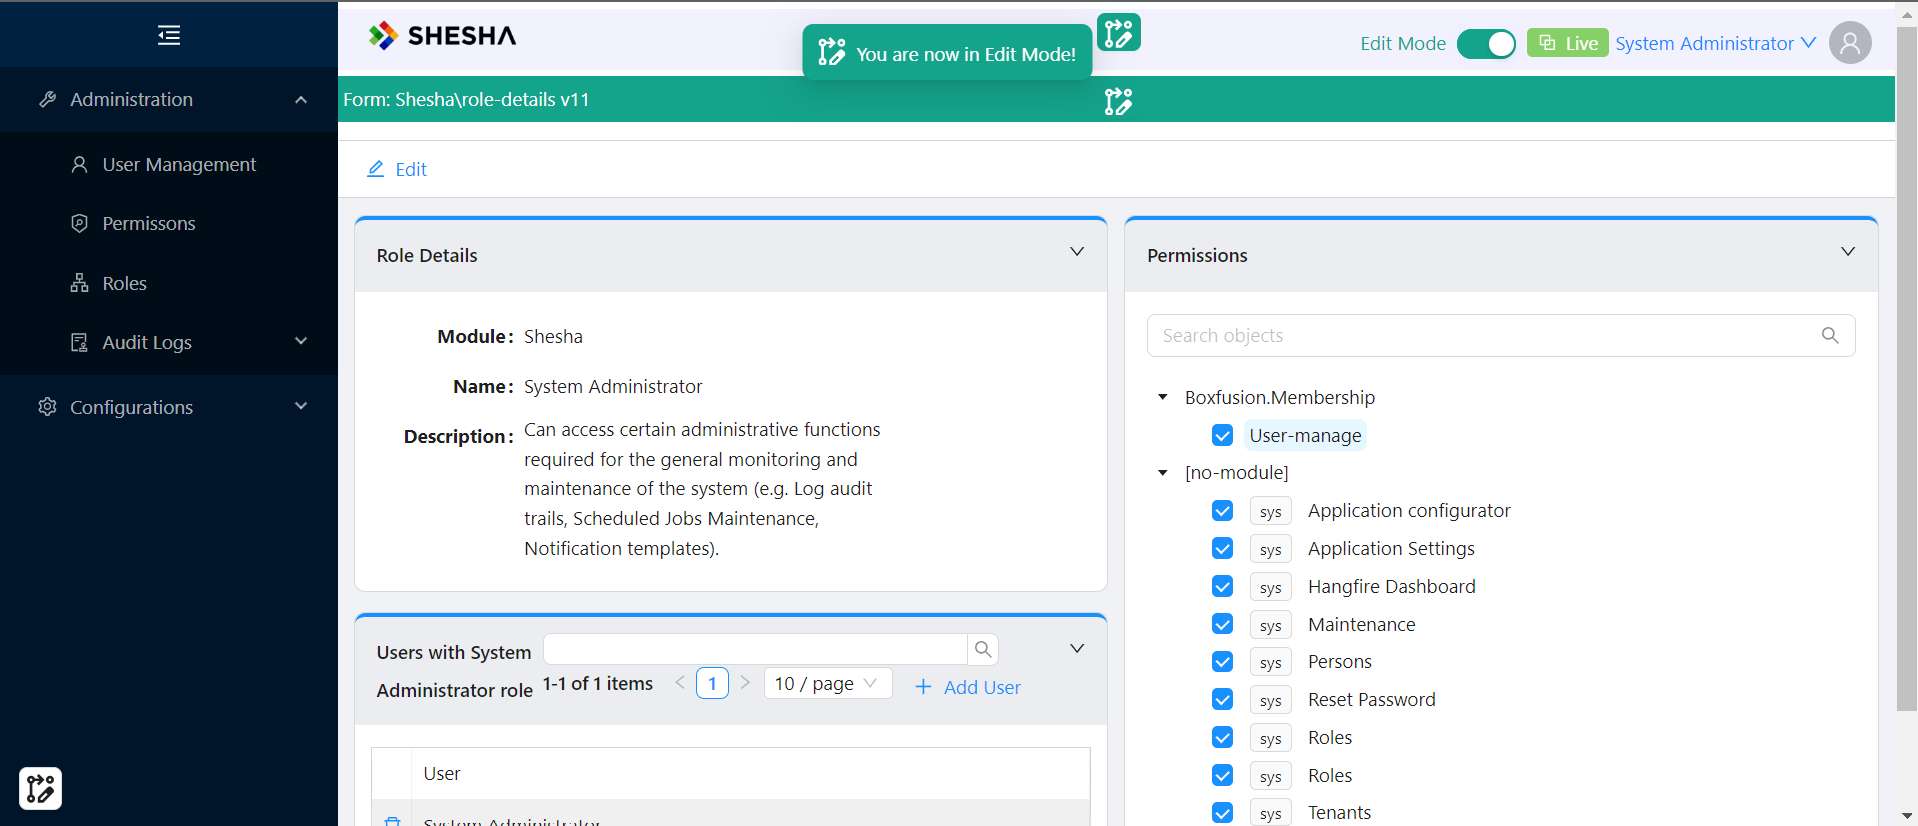
Once in Edit Mode, the top menu bar changes and a notification confirms the application has switched to Edit Mode.
While in Edit Mode, click Permission in the sidebar again to bring up the Edit Mode permission modal.
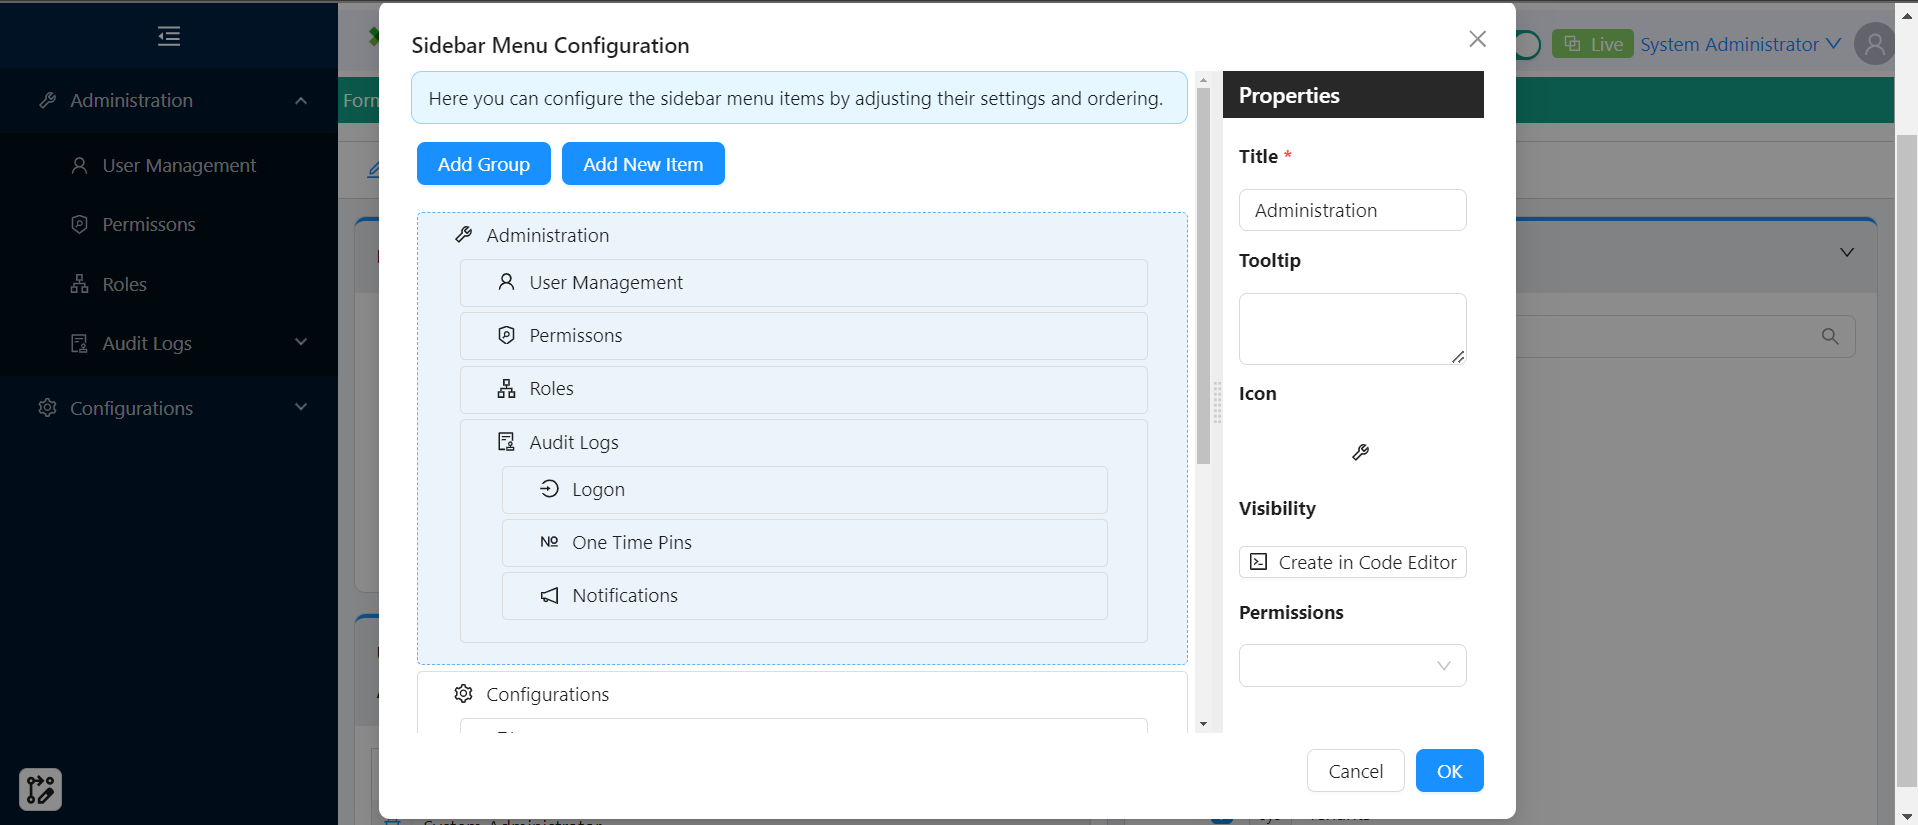
Add the newly created permission to the menu item's permission list.
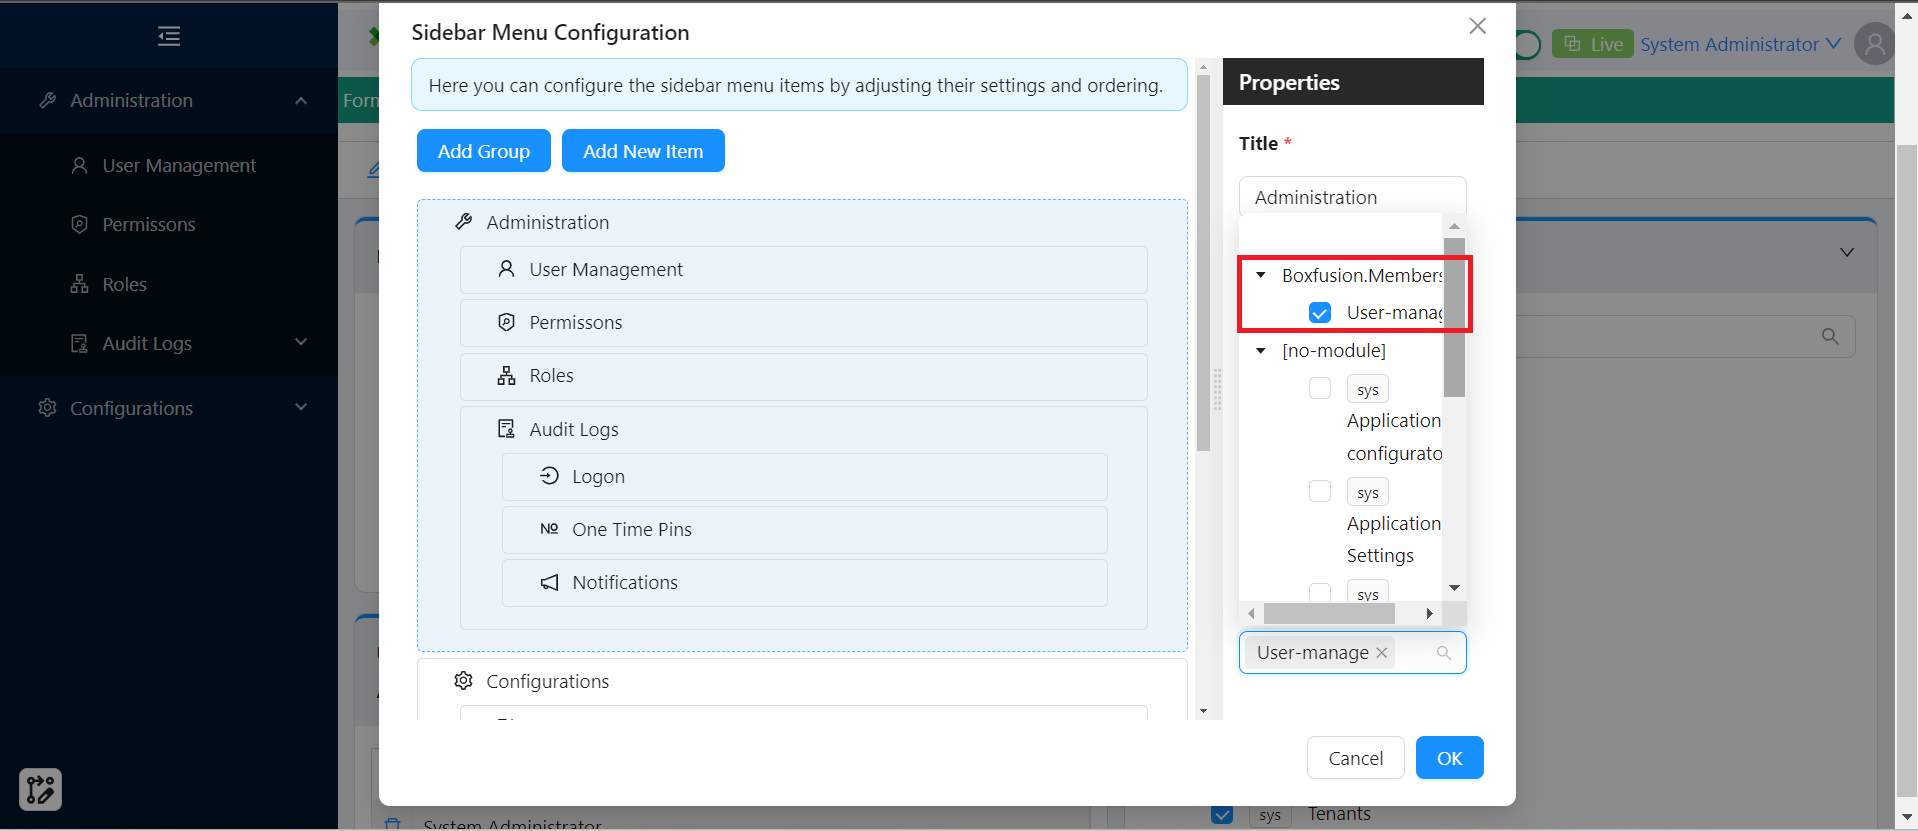
Assigning permissions this way also applies to individual form components, not just menu items and forms.
Only users whose role is granted this permission will now see the menu item.